Manual · 1
Getting started
This page takes you from installing VCSIDE to a first program running in an emulator, and explains the project file and the panels you will see.
Install
VCSIDE is a single program. On macOS it is VCSIDE.app; on Windows and Linux it is vcside (or vcside.exe) with its data/ folder next to it. It needs OpenGL 2.1 or later and nothing else of its own.
It does not include the assemblers and emulators. It looks for them in your PATH and in the usual install folders, and you can set any of them by hand in Settings → Tools (Cmd+,).
| Tool | Needed for |
|---|---|
| DASM | assembly projects |
| batari Basic 1.9 and wasmtime | batari Basic projects (batari Basic brings its own DASM) |
| Arm GNU toolchain and GNU Make | C projects for ELF cartridges |
| Gopher2600 or Stella | running and debugging |
You don't have to install everything before starting. Before building or running, VCSIDE checks what the project needs. If something is missing, a window says what it is and how to install it, with its official download page, Choose the file... and Search again, and then carries on with the build.
A first project
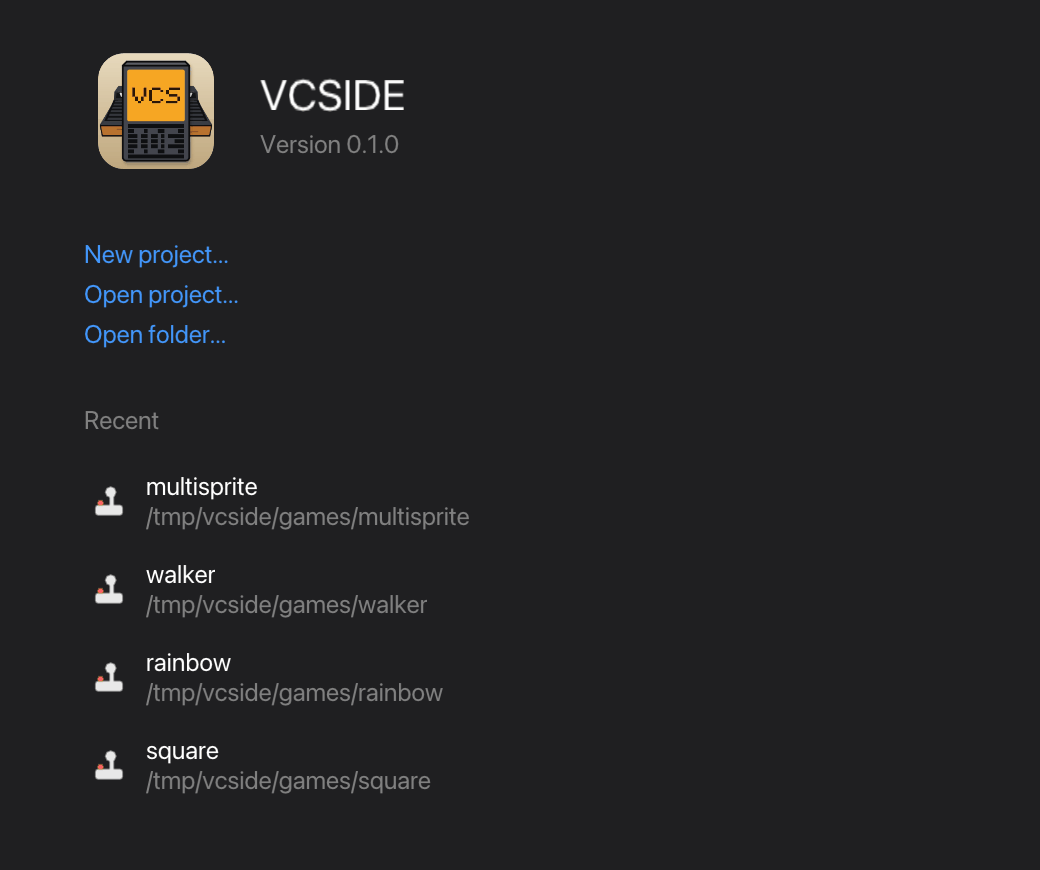
When nothing is open, VCSIDE shows its welcome page: New project, Open project, Open folder and the recent projects and folders, one click away.
Use New project (also in File). Give it a name and a folder, and choose:
- Language of the project: assembly (DASM), batari Basic, or C for ELF cartridges.
- TV standard: the ones the language can build for, among NTSC, PAL and the others the emulators know. The assembly template sets its line counts for 60 or 50 Hz, and a batari Basic one for PAL gets
set tv pal. Multiple (in the code) is for a program that handles several systems itself: the assembly template then chooses with-DPAL=1. - Start from: an empty project, or an example. For assembly and for C, the example is an animated sprite drawn in the graphics editor that walks with the joystick.
Then press F5. VCSIDE builds the program and opens it in the emulator.
The project file
A folder without one builds too: open it with File → Open folder... and press F7. VCSIDE recognises a Makefile or build script, a DASM source with its processor line or a batari Basic one (in the folder or in src/), shows what it found and builds it as it is, or writes the project file first if you want to keep or change the settings.
A project is a .vcsproj file, plain JSON that you can keep under version control. Build → Project settings..., or a click on the .vcsproj in the project panel, opens it in a tab as a form or as text, with a switch between both. Keys VCSIDE doesn't use are kept.
{
  "name": "walker",
  "language": "dasm",
  "main": "main.asm",
  "output": "build/walker.bin",
  "format": "4K",
  "tv": "NTSC",
  "emulator": "gopher2600",
  "illegal_opcodes": "allow",
  "include_dirs": []
}| Field | What it does |
|---|---|
language | dasm, bb or elf. |
main, output | The program to build and the ROM it gives. |
format | The cartridge format (2K, 4K, F8, F6, F4, FE, E0, E7, 3F, 3E, FA, DPC, DPC+, CDFJ, ELF...). It is passed to the emulator and used by the space report. |
tv | The TV standard passed to the emulator. |
emulator | gopher2600 (the default for new projects) or stella. |
illegal_opcodes | allow, stable-only, warn or forbid. See illegal opcodes. |
build_command | A command of the project's own that builds it: make (what ELF projects use), sh build.sh, or a line with && that the system shell runs. Its errors still go to Problems. |
tool_paths | A DASM or batari Basic of the project's own, instead of the one in Settings → Tools, for example to pin a version. Paths are relative to the project or absolute. |
build_flags | More arguments for DASM, such as -DPAL=1. Those that change the code also apply when the space is measured. |
space_warn_percent, stack_reserve | When the space report warns (90 % by default) and how many bytes of RAM to keep for the stack (8). See Space report. |
emulator_options, emulator_args | What Emulator options changes. Only the changed options are saved. |
The format, TV standard, emulator and illegal-opcode policy can also be changed in the Build menu.
Breakpoints, the files that were open and where the cursor was are kept apart, in <project>.vcsproj.user. Add it to .gitignore if you don't want to share them.
Opening a folder that has a Makefile or a build script and no project file offers to create one, with the main source and the ROM read from the folder.
The window
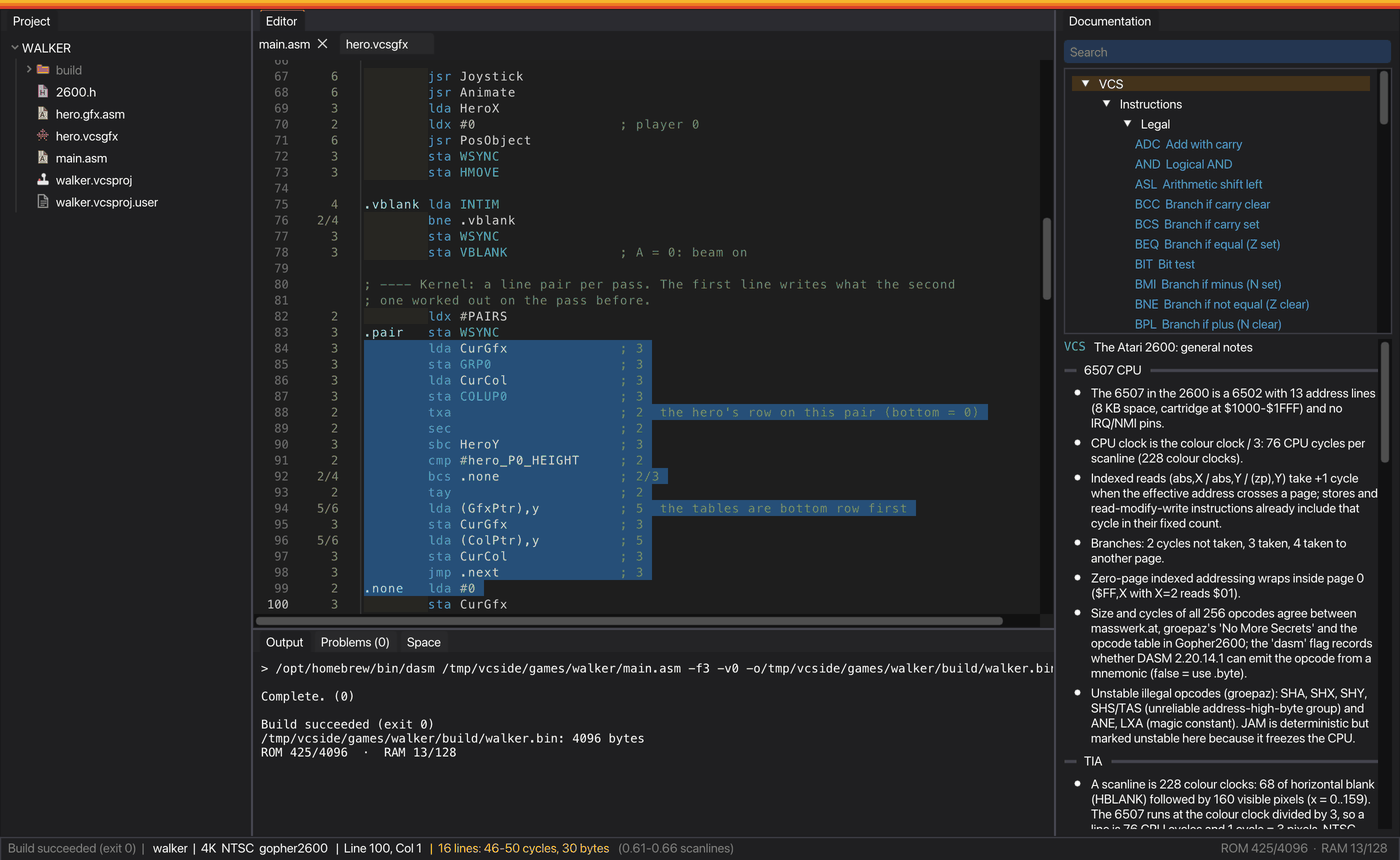
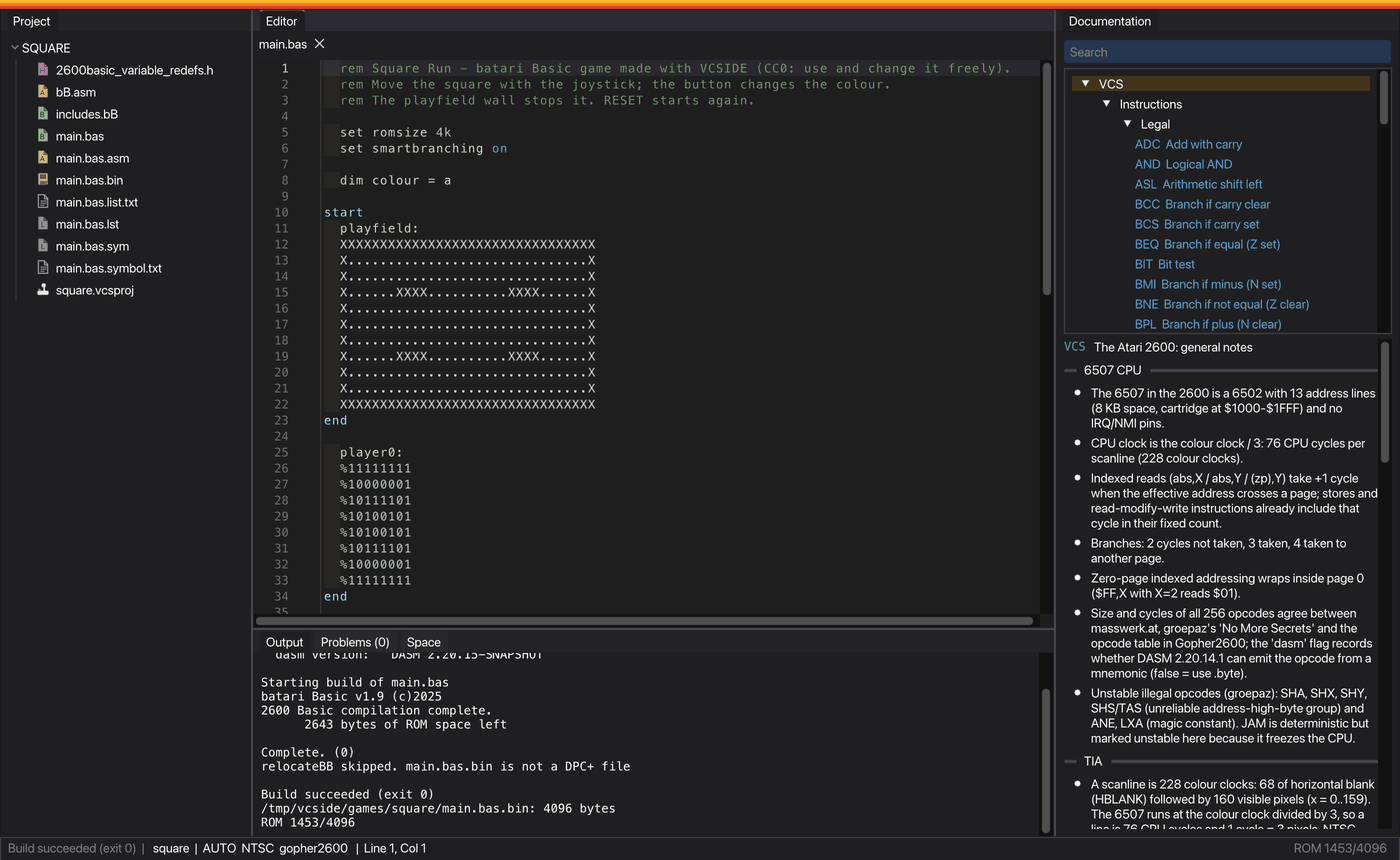
The panels can be moved and docked wherever you like:
- Project
- All the project's files, hidden ones too. What Git ignores, and the
buildfolder, show dimmed. Double-click to open one. - Editors
- One tab per open file: code, graphics (
.vcsgfx), project settings, or a PNG or BMP image. - Output
- What the build and the emulator print.
- Problems
- Errors and warnings from the build and the space report. Click one to open its line.
- Space
- The space report of the last build.
- Documentation
- The knowledge base, which follows F1.
On macOS the menus are in the system menu bar, and the application menu has About, Tools and Language. On Windows and Linux they are in the window. Esc closes any dialog.
Images open in a viewer with sharp pixels: a click zooms in, Alt+click or the right button zooms out, the wheel zooms where the pointer is and dragging moves the image. The bottom line gives the pixel under the pointer and its colour, and the view follows the file when it changes on disk.
View zooms the whole IDE, and the fonts are drawn again at each size so they stay sharp. Shortcuts go by the character of the key, so they work with any keyboard layout: Ctrl+/ is Ctrl+Shift+7 on a Spanish keyboard.
Windows and sessions
Each window has one project. File → New window opens another one on the welcome page, Close project takes a window back to it, and opening a project that is already open in another window brings that window forward. Settings such as the theme, the zoom and the recent projects are shared by all.
When you quit VCSIDE it remembers its windows: next time each one opens again with its project, in the same place and size, with the files that were open, the cursor where it was in each and the breakpoints. If you start it with a file or folder to open, it opens just that.
Keyboard shortcuts
On macOS every Ctrl below is Cmd.
These are the macOS keys; on Windows and Linux, Cmd is Ctrl and Option is Alt. On a Mac laptop the F keys may need Fn.
| Keys | Action |
|---|---|
| F7 | Build |
| F5 | Build and run |
| F6 | Build and debug, with the breakpoints |
| F9 | Set or clear a breakpoint |
| F1 | Documentation for the word under the cursor |
| F12 or Ctrl+click | Go to definition |
| Ctrl+Shift+G | Go to address |
| Ctrl+G | Go to line |
| Ctrl+Space | Completion |
| Ctrl+F, F3, Shift+F3 | Find, find next, find previous |
| Ctrl+H (Cmd+Shift+F on macOS)Cmd+Shift+F | Replace |
| Ctrl+/ | Comment or uncomment lines |
| Ctrl+D | Duplicate lines |
| Alt+↑ / ↓ | Move lines up or down |
| Ctrl+Shift+K | Delete lines |
| Ctrl+S, Ctrl+Shift+S | Save, save all |
| Ctrl+Z, Ctrl+Shift+Z | Undo, redo |
| Ctrl+Alt+↑ / ↓ | Fold or unfold the region at the cursor |
| Ctrl+Shift+N, Ctrl+Shift+W | New window, close window |
| Ctrl++ / - / 0 | Zoom |
| Esc | Close a dialog |